 html@page {
@rightnote { width: 40vw }
}
aside {
-prince-float: sidenote;
background: beige;
}
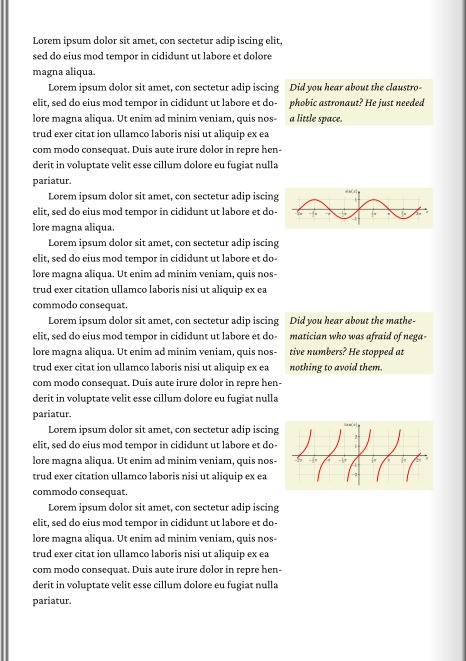
<aside>Did you hear about...
<aside><img ...
<aside>Why don't scientists...
<aside><img ...
html@page {
  @rightnote { width: 40vw }
}
aside {
  -prince-float: sidenote;
  background: beige;
}

<aside>Did you hear about...
<aside><img ...
<aside>Why don't scientists...
<aside><img ...
Books often use sidenotes to hold notes and figures in the margin, next to the main flow. Prince now supports such sidenotes through simple extensions to the float property, and we invite you to download the latest version of Prince and try formatting the code snippets in this guide. Prince is a HTML-to-PDF-via-CSS converter which offers advanced layout features so that you can create books from HTML.
To get started, we define a sidenote area
inside @page section of the CSS stylesheet. In this example, we create a sidenote area on the right side of the flow:
html@page {
@rightnote { width: 40vw }
}
aside {
-prince-float: sidenote;
background: beige;
}
<aside>Did you hear about...
<aside><img ...
<aside>Why don't scientists...
<aside><img ...
In the above example, aside elements are moved to the sidenote area (defined with @rightnote) which is given a 40vw width. You cannot set the height of the sidenote area (it always has the height of the main flow), but you can set other box-relasted properties, like padding and background.
There can be two sidenote areas on a page, one on the left and one on the right. Here they are given a width, and some padding to separate them from the main flow:
 html@page {
@leftnote {
width: 30vw;
padding-right: 1em;
}
@rightnote {
width: 30vw;
padding-left: 1em;
}
}
aside { -prince-float: rightnote }
figure { -prince-float: leftnote }
html@page {
  @leftnote {
    width: 30vw;
    padding-right: 1em;
  }
  @rightnote {
    width: 30vw;
    padding-left: 1em;
  }
}
aside { -prince-float: rightnote }
figure { -prince-float: leftnote }
The sidenote area is referred to as rightnote and leftnote when you need to distinguish between them, otherwise the generic sidenote will do.
By default, sidenotes appear near their anchoring points. But they can also be floated to the top or bottom of the sidenote area:
 html@page {
@leftnote {
width: 30vw;
}
@rightnote {
width: 30vw;
}
}
aside { -prince-float: rightnote top }
figure { -prince-float: leftnote bottom }
html@page {
  @leftnote {
    width: 30vw;
  }
  @rightnote {
    width: 30vw;
  }
}

aside { -prince-float: rightnote top }
figure { -prince-float: leftnote bottom }
Sidenotes work well in multi-column environments where negative margins (which can be used to emulate sidenotes) will fail.
 htmlbody { columns: 2 }
.joke {
-prince-float: sidenote;
font-style: italic;
}
htmlbody { columns: 2 }
.joke {
  -prince-float: sidenote;
  font-style: italic;
}
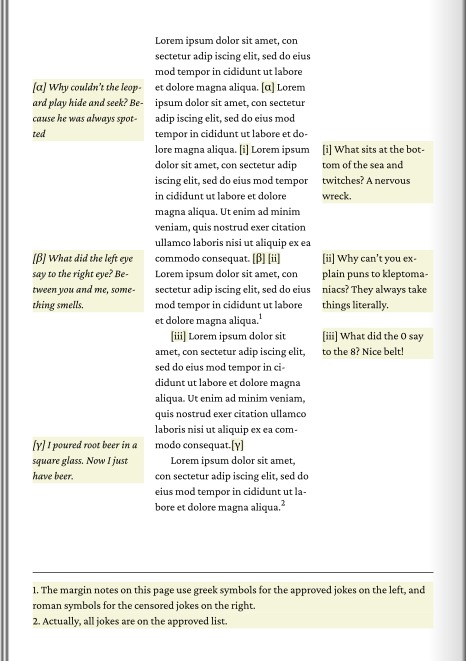
Unlike footnotes, sidenotes are not automatically numbered. This is something that might be considered for the fugure. Meanwhile, a small script can help us:
 htmlbody { columns: 2 }
.joke {
-prince-float: sidenote;
font-style: italic;
}
.joke::before {
content: "[" counter(sn) "] ";
}
.snc {
counter-increment: sn;
content: "[" counter(sn) "] ";
}
<script type="text/javascript" src="../charms.js"></script>
<body onload="addSidenoteMarks('span','snc')">
htmlbody { columns: 2 }
.joke {
  -prince-float: sidenote;
  font-style: italic;
}
.joke::before {
   content: "[" counter(sn) "] ";
}

.snc {
   counter-increment: sn;
   content: "[" counter(sn) "] ";
}

<script type="text/javascript" src="../charms.js"></script>
<body onload="addSidenoteMarks('span','snc')">
The script will look for span elements, and create corresponding sidenote call elements, of class snc.
The sidenote areas are conceptually similar to the footnote area, and all of them can be used on the same page:
 html@page {
@leftnote {
width: 30vw;
padding-right: 1em;
}
@rightnote {
width: 30vw;
padding-left: 1em;
}
@footnote {
border-top: solid black thin;
padding-top: 8pt;
}
}
.fn { -prince-float: footnote }
::footnote-marker { content: "[" counter(footnote) "] " }
.greek { -prince-float: leftnote }
.greek::before { content: "[" counter(cg, lower-greek) "] " }
.roman { -prince-float: rightnote }
.roman::before { content: "[" counter(cr, lower-roman) "] " }
html@page {
  @leftnote {
    width: 30vw;
    padding-right: 1em;
  }
  @rightnote {
    width: 30vw;
    padding-left: 1em;
  }
  @footnote {
    border-top: solid black thin;
    padding-top: 8pt;
  }
}

.fn { -prince-float: footnote }
::footnote-marker { content: "[" counter(footnote) "] " }
.greek { -prince-float: leftnote }
.greek::before { content: "[" counter(cg, lower-greek) "] " }
.roman { -prince-float: rightnote }
.roman::before { content: "[" counter(cr, lower-roman) "] " }
In the previous example, all notes have markers, but only the footnotes have calls
in the main text. Sidenote calls are added with a small script:
 html@page {
@leftnote {
width: 30vw;
padding-right: 1em;
}
@rightnote {
width: 30vw;
padding-left: 1em;
}
@footnote {
border-top: solid black thin;
padding-top: 8pt;
}
}
body {
counter-reset: cr cg;
}
.fn { -prince-float: footnote }
::footnote-marker { content: "[" counter(footnote) "] " }
.greek { -prince-float: leftnote }
.greek::before { content: "[" counter(cg, lower-greek) "] " }
.roman { -prince-float: rightnote }
.roman::before { content: "[" counter(cr, lower-roman) "] " }
.croman {
counter-increment: cr;
content: "[" counter(cr, lower-roman) "] ";
}
.cgreek {
counter-increment: cg;
content: "[" counter(cg, lower-greek) "] ";
}
<script type="text/javascript" src="../charms.js"></script>
<body onload="addSidenoteMarks('.roman','croman'); addSidenoteMarks('.greek','cgreek')">
html@page {
  @leftnote {
    width: 30vw;
    padding-right: 1em;
  }
  @rightnote {
    width: 30vw;
    padding-left: 1em;
  }
  @footnote {
    border-top: solid black thin;
    padding-top: 8pt;
  }
}

body {
  counter-reset: cr cg;
}

.fn { -prince-float: footnote }
::footnote-marker { content: "[" counter(footnote) "] " }
.greek { -prince-float: leftnote }
.greek::before { content: "[" counter(cg, lower-greek) "] " }
.roman { -prince-float: rightnote }
.roman::before { content: "[" counter(cr, lower-roman) "] " }

.croman {
   counter-increment: cr;
   content: "[" counter(cr, lower-roman) "] ";
}

.cgreek {
   counter-increment: cg;
   content: "[" counter(cg, lower-greek) "] ";
}

<script type="text/javascript" src="../charms.js"></script>
<body onload="addSidenoteMarks('.roman','croman'); addSidenoteMarks('.greek','cgreek')">
The float property is a shorthand; the underlying individual properties can also be used:
 html@page {
@leftnote {
width: 30vw;
}
@rightnote {
width: 30vw;
}
}
aside {
-prince-float-reference: rightnote;
-prince-float-placement: top;
}
figure {
-prince-float-reference: leftnote;
-prince-float-placement: bottom;
}
html@page {
  @leftnote {
    width: 30vw;
  }
  @rightnote {
    width: 30vw;
  }
}

aside {
  -prince-float-reference: rightnote;
  -prince-float-placement: top;
}
figure {
  -prince-float-reference: leftnote;
  -prince-float-placement: bottom;
}
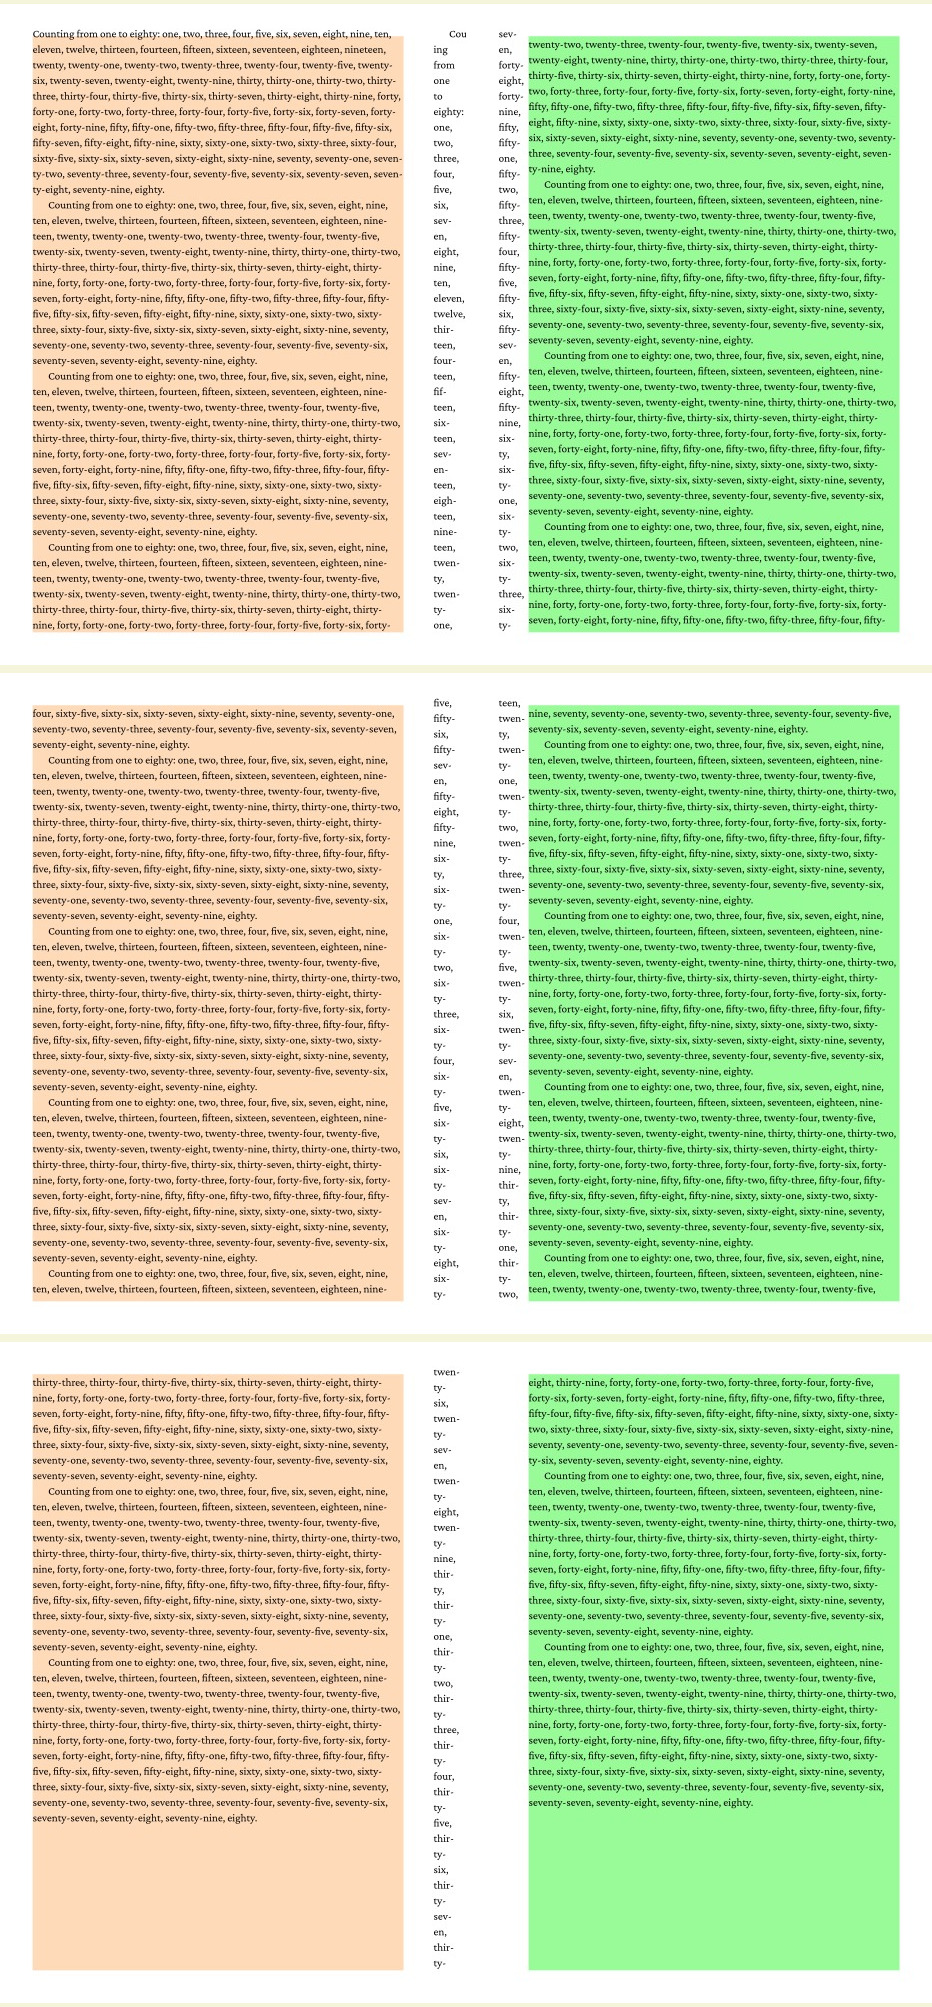
The sidenote areas can have different widths and background colors on different pages. Also notes can be floated to the outside
and inside
sidenote areas:
 html@page :left {
@leftnote {
width: 20vw;
background: peachpuff;
}
@rightnote {
width: 40vw;
background: palegreen;
}
}
@page :right {
@leftnote {
width: 25vw;
background: honeydew;
}
@rightnote {
width: 35vw;
background: linen;
}
}
@page:nth(3) {
@leftnote {
width: 40vw;
background: khaki;
}
@rightnote {
width: 10vw;
background: lightcyan;
}
}
.ref { -prince-float: top outsidenote }
aside { -prince-float: insidenote }
html@page :left {
  @leftnote {
    width: 20vw;
    background: peachpuff;
  }
  @rightnote {
    width: 40vw;
    background: palegreen;
  }
}

@page :right {
  @leftnote {
    width: 25vw;
    background: honeydew;
  }
  @rightnote {
    width: 35vw;
    background: linen;
  }
}

@page:nth(3) {
  @leftnote {
    width: 40vw;
    background: khaki;
  }
  @rightnote {
    width: 10vw;
    background: lightcyan;
  }
}

.ref { -prince-float: top outsidenote }
aside { -prince-float: insidenote }
..
 htmlxx
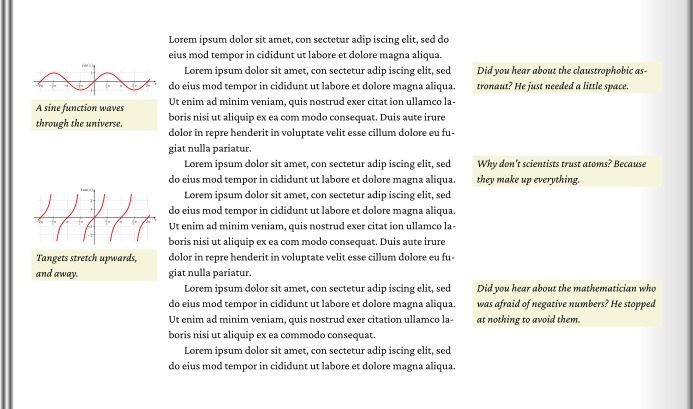
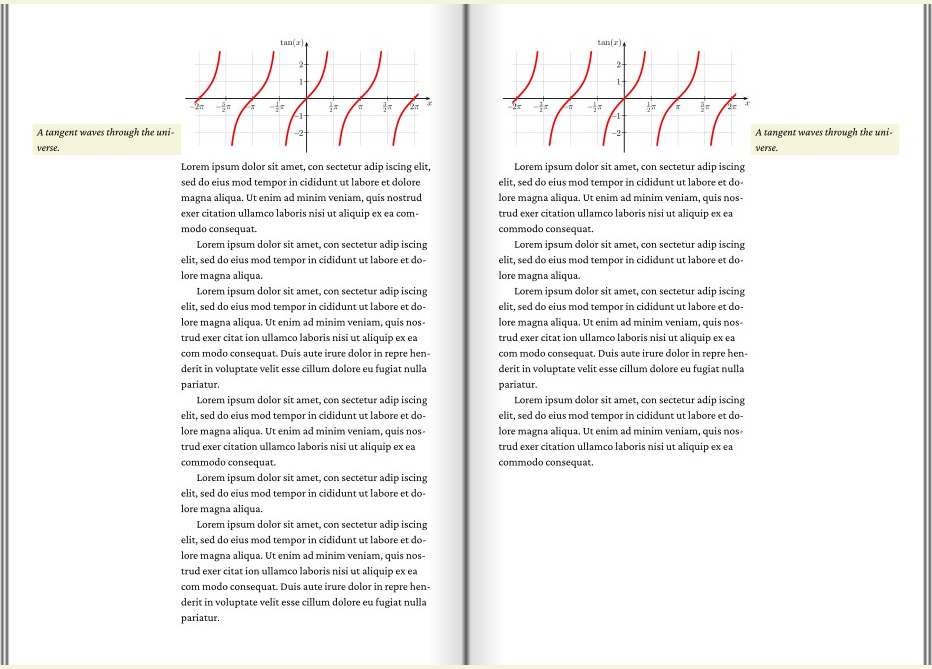
Often, a wide figure will extend into the margin area. This can be expressed with the wide, wide-left and wide-right keywords. In this example, the first three figures extend into both sidenote areas, while the last figure remains in the main flow.
 html@page {
@leftnote {
width: 30vw;
}
@rightnote {
width: 30vw;
}
}
.w { -prince-float: wide }
.wl { -prince-float: wide-left }
.wr { -prince-float: wide-right }
...
<figure class=w><img src=sinus.svg></figure>
...
<figure class=wl><img src=sinus.svg></figure>
...
<figure class=wr><img src=sinus.svg></figure>
...
<figure><img src=sinus.svg></figure>
...
html@page {
  @leftnote {
    width: 30vw;
  }
  @rightnote {
    width: 30vw;
  }
}
.w { -prince-float: wide }
.wl { -prince-float: wide-left }
.wr { -prince-float: wide-right }
...
<figure class=w><img src=sinus.svg></figure>
...
<figure class=wl><img src=sinus.svg></figure>
...
<figure class=wr><img src=sinus.svg></figure>
...
<figure><img src=sinus.svg></figure>
...
There are also wide-inside and wide-outside keywords:
 html@page {
@leftnote {
width: 30vw;
}
@rightnote {
width: 30vw;
}
}
figure.sinus {
-prince-float: wide-inside;
}
figure.tangent {
-prince-float: wide-outside;
}
html@page {
  @leftnote {
    width: 30vw;
  }
  @rightnote {
    width: 30vw;
  }
}
figure.sinus {
  -prince-float: wide-inside;
}
figure.tangent {
  -prince-float: wide-outside;
}
Wide figures can also be combined with captions in the sidenote area:
 html@page {
@rightnote { width: 40vw }
}
figure {
-prince-float-reference: wide;
}
figure figcaption {
-prince-float-placement: inherit;
-prince-float-reference: sidenote;
background: beige;
}
.top { -prince-float-placement: top }
.bottom { -prince-float-placement: bottom }
html@page {
  @rightnote { width: 40vw }
}

figure {
  -prince-float-reference: wide;
}

figure figcaption {
  -prince-float-placement: inherit;
  -prince-float-reference: sidenote;
  background: beige;
}

.top { -prince-float-placement: top }
.bottom { -prince-float-placement: bottom }
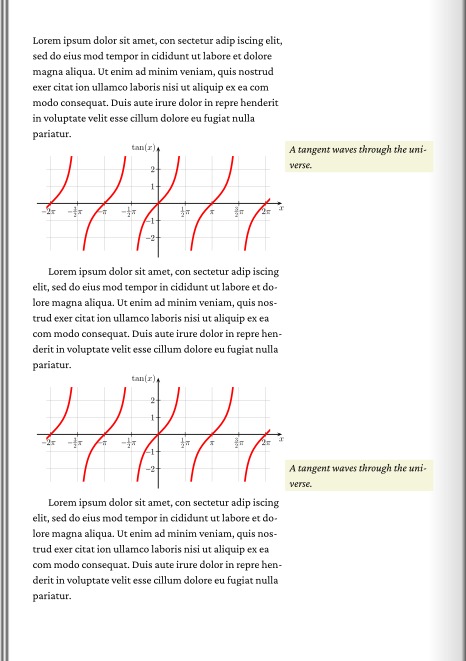
Notice how the figure caption is placed below the top figure and above the bottom figure. This due to wide
figures being laid out before other sidenotes.
When figures are floated to the top and bottom of a page, their respective captions can be floated in the sidenote area:
 htmlfigure.top { -prince-float: top; -prince-clear: end }
figure.top figcaption { -prince-float: sidenote top }
figure.bottom { -prince-float: bottom; -prince-clear: end }
figure.bottom figcaption { -prince-float: sidenote bottom }
htmlfigure.top { -prince-float: top; -prince-clear: end }
figure.top figcaption { -prince-float: sidenote top }

figure.bottom { -prince-float: bottom; -prince-clear: end }
figure.bottom figcaption { -prince-float: sidenote bottom }
The use of 'clear' is essential in the above example; if there is more than once caption at the top/bottom, the caption will not be correctly aligned.
Captions placed in the sidenote area must be connected with their figure. The order of the figcaption and img elements is relevant to achieve these common placements:
 htmlfigcaption.align-top {
-prince-float: sidenote align-top;
}
figcaption.align-bottom {
-prince-float: sidenote align-bottom;
}
<figure>
<figcaption class=align-top>A sine ...
<img src=tangent.svg>
</figure>
<figure>
<img src=tangent.svg>
<figcaption class=align-bottom>A sine ...
</figure>
htmlfigcaption.align-top {
  -prince-float: sidenote align-top;
}

figcaption.align-bottom {
  -prince-float: sidenote align-bottom;
}

<figure>
  <figcaption class=align-top>A sine ...
  <img src=tangent.svg>
</figure>

<figure>
  <img src=tangent.svg>
  <figcaption class=align-bottom>A sine ...
</figure>
The align-top keyword means that the top of the sidenote will be aligned with the top of the box where it naturally appears. There is a corresponding align-bottom keyword where the bottom of the sidenote is aligned with the top of the box where it naturally appears.
When figures are floated to the top of a page, the corresponding caption can be nicely aligned in the sidenote area:
 htmlfigure.top { -prince-float: top; -prince-clear: end }
figure.top figcaption { -prince-float: sidenote align-bottom }
htmlfigure.top { -prince-float: top; -prince-clear: end }
figure.top figcaption { -prince-float: sidenote align-bottom }
The align-bottom keyword means that the bottom of the sidenote will be aligned with the top of the box where it naturally appears. In the example above, the box where the figcaption naturally appears is not the figure (which has been floated away to the top), but the box which contains the main text flow. (This is not so intuitive. It might be better to find a way to align with the figure element.)
Aligning the caption with the top edge of a bottom-floating figure is a bit tricky to achieve (due to both align-top/align-bottom being aligned with the top of a box). It involves making the figure box wide, and thereafter size and place the image and caption within the wide box:
 html@page:left {
@leftnote { width: 40vw }
}
@page:right {
@rightnote { width: 40vw }
}
figure.bottom {
-prince-float: bottom wide; -prince-clear: end }
figure img {
width: 65%;
-prince-float: inside;
}
figure figcaption {
width: 35%;
-prince-float: outside;
box-sizing: border-box; /* this has to be present, for reasons I do not understand */
}
html@page:left {
  @leftnote { width: 40vw }
}
@page:right {
  @rightnote { width: 40vw }
}

figure.bottom {
  -prince-float: bottom wide; -prince-clear: end }

figure img {
  width: 65%;
  -prince-float: inside;
}
figure figcaption {
  width: 35%;
  -prince-float: outside;
  box-sizing: border-box; /* this has to be present, for reasons I do not understand */
}
Sidenotes are useful for many kinds or marginal notes, including icons
 html@page {
@leftnote { width: 5vw }
}
p.note::before {
-prince-float: sidenote;
content: "📝";
font-family: "Noto Emoji";
width: 3vw;
}
html@page {
  @leftnote { width: 5vw }
}

p.note::before {
  -prince-float: sidenote;
  content: "📝";
  font-family: "Noto Emoji";
  width: 3vw;
}